
Glass Insulators: Installation, Maintenance & Troubleshooting Guide
Glass Insulators: Installation, Maintenance & Troubleshooting Guide
")
Introduction
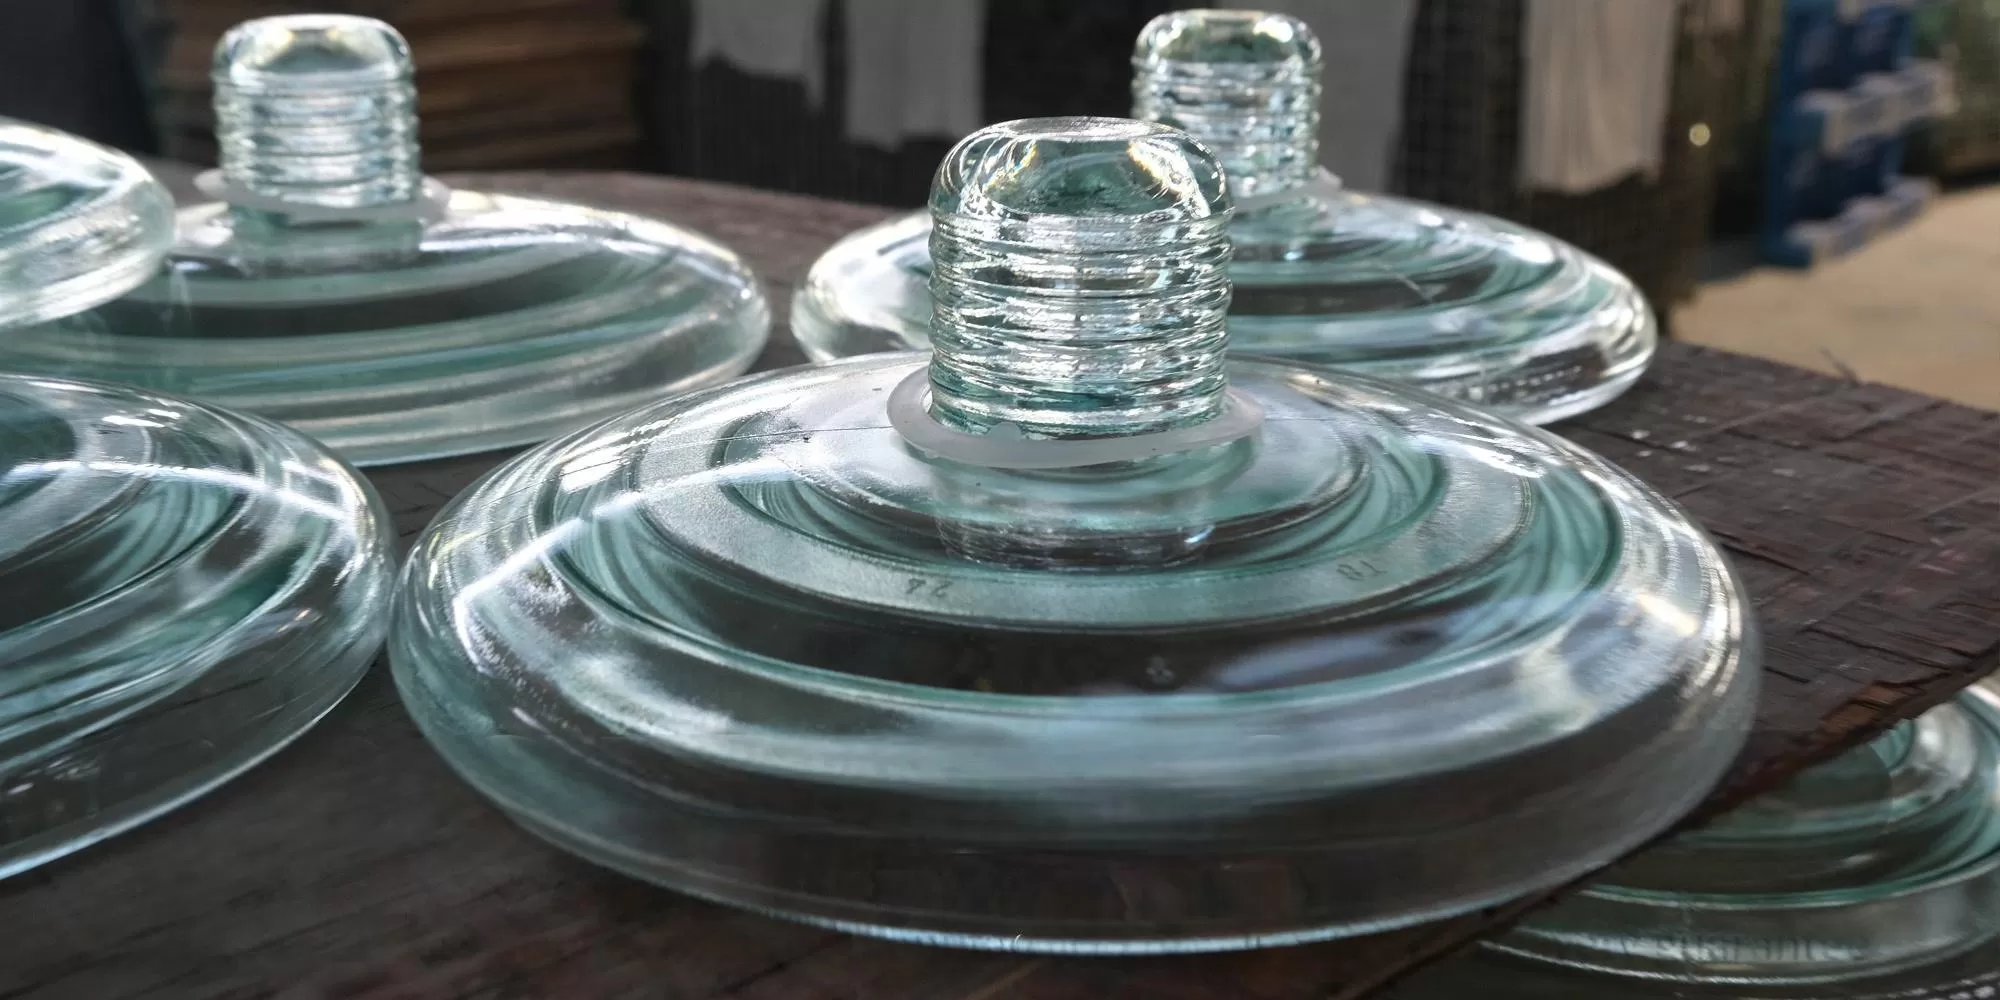
While high-quality glass insulators are designed to last 30-50 years, their performance and lifespan depend heavily on proper installation and regular maintenance. Even the best insulator from a top insulators company can fail prematurely if installed incorrectly or neglected.
For energy suppliers and power companies, improper installation or maintenance is one of the leading causes of insulator failures, power outages, and safety incidents. A single failed insulator can cost thousands of dollars in repairs and lost revenue, not to mention the risk to public safety.
This comprehensive guide provides step-by-step instructions for glass insulator installation, outlines best practices for routine maintenance, and explains how to identify and troubleshoot common insulator problems. It also explains when to contact professional insulators company or industrial insulation group for assistance.
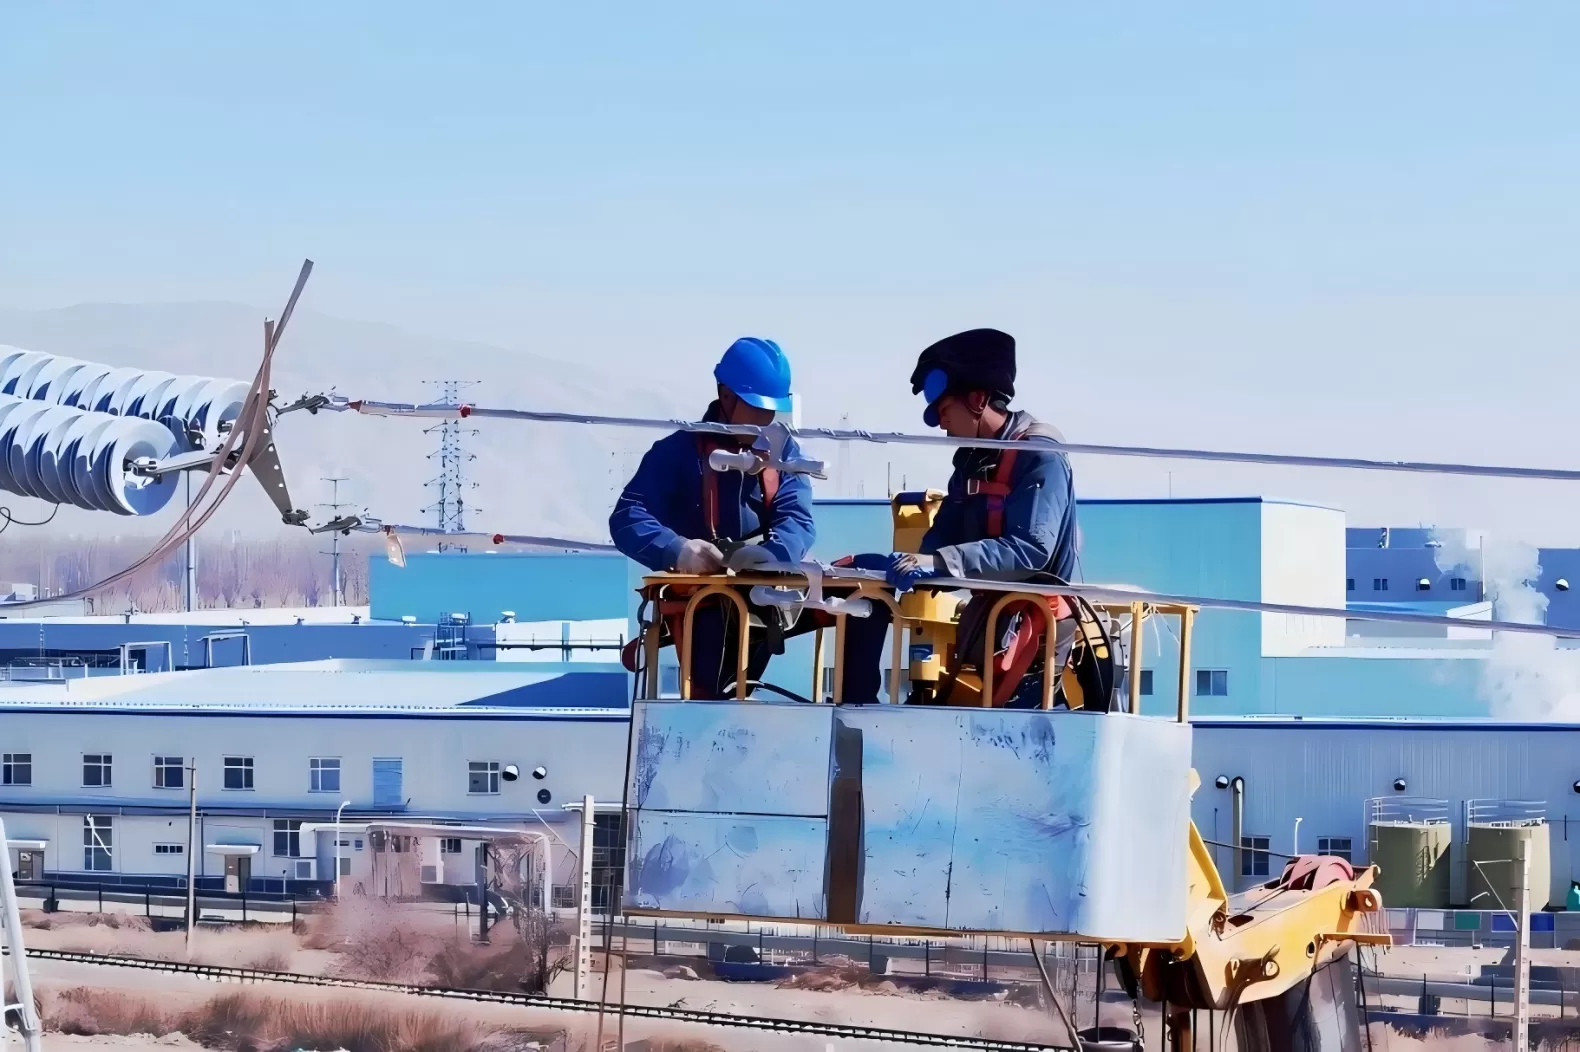
Proper Glass Insulator Installation
Correct installation is the foundation of long-term insulator performance. Following industry standards and manufacturer guidelines ensures that glass insulators operate at their full capacity and withstand the stresses of power grid operation.
Pre-Installation Preparation
Before beginning installation, complete the following steps:
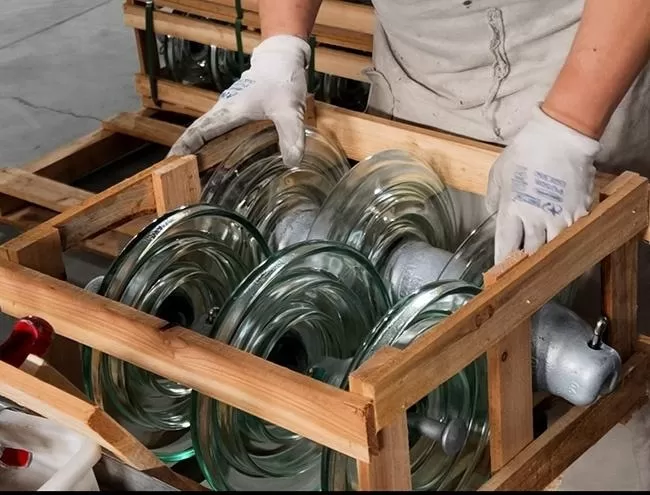
1. Inspect all insulators: Check for cracks, chips, or other damage that may have occurred during shipping. Discard any damaged insulators immediately.
2. Verify specifications: Ensure that the insulators match the voltage rating, mechanical load capacity, and design requirements of the power line.
3. Prepare tools and equipment: Gather all necessary tools, including wrenches, torque wrenches, safety harnesses, and testing equipment.
4. Conduct safety briefing: Ensure all workers are trained in proper safety procedures and have the necessary personal protective equipment (PPE).
Step-by-Step Installation Process
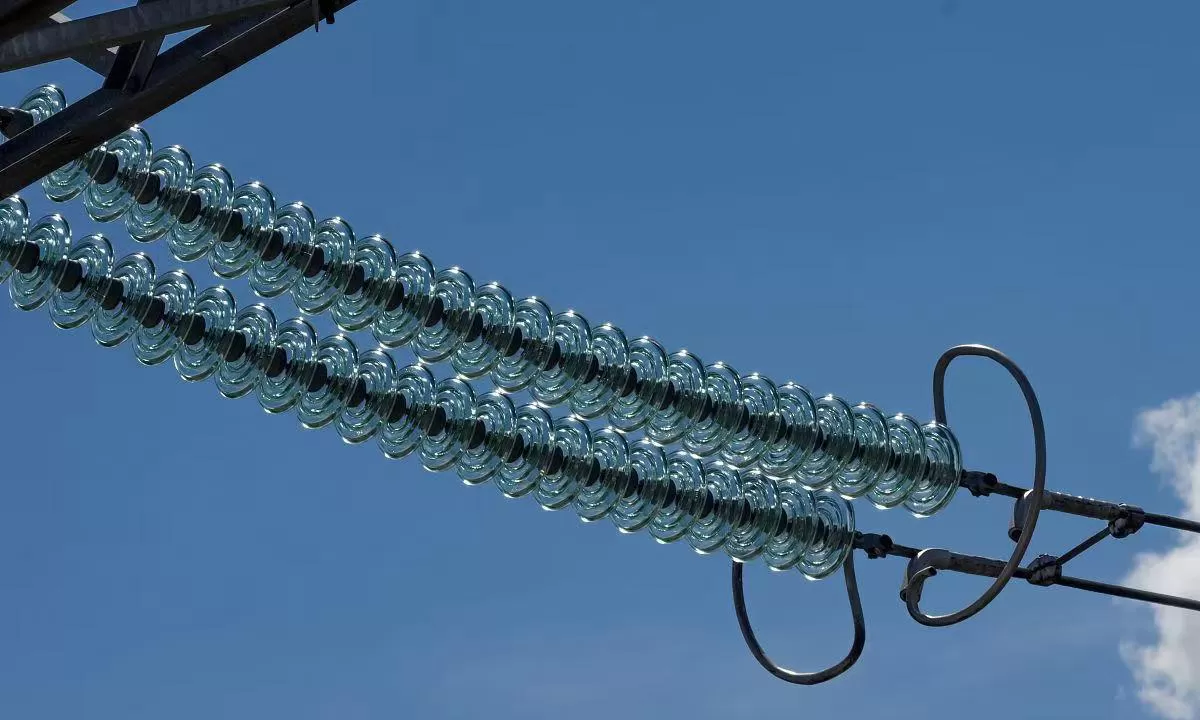
1. Suspension Insulator String Assembly
· Lay out the insulators and hardware on a clean, flat surface
· Assemble the insulator string by connecting each insulator unit using the provided hardware
· Tighten all connections to the manufacturer's specified torque using a torque wrench
· Perform a visual inspection to ensure all units are properly aligned and connected
2. String Installation
· Attach the assembled string to the transmission tower cross-arm using the appropriate hardware
· Connect the powerline conductor to the bottom of the insulator string
· Adjust the tension of the conductor to the manufacturer's specifications
· Perform a final visual inspection to ensure the string is hanging vertically and there is no contact with the tower or other structures
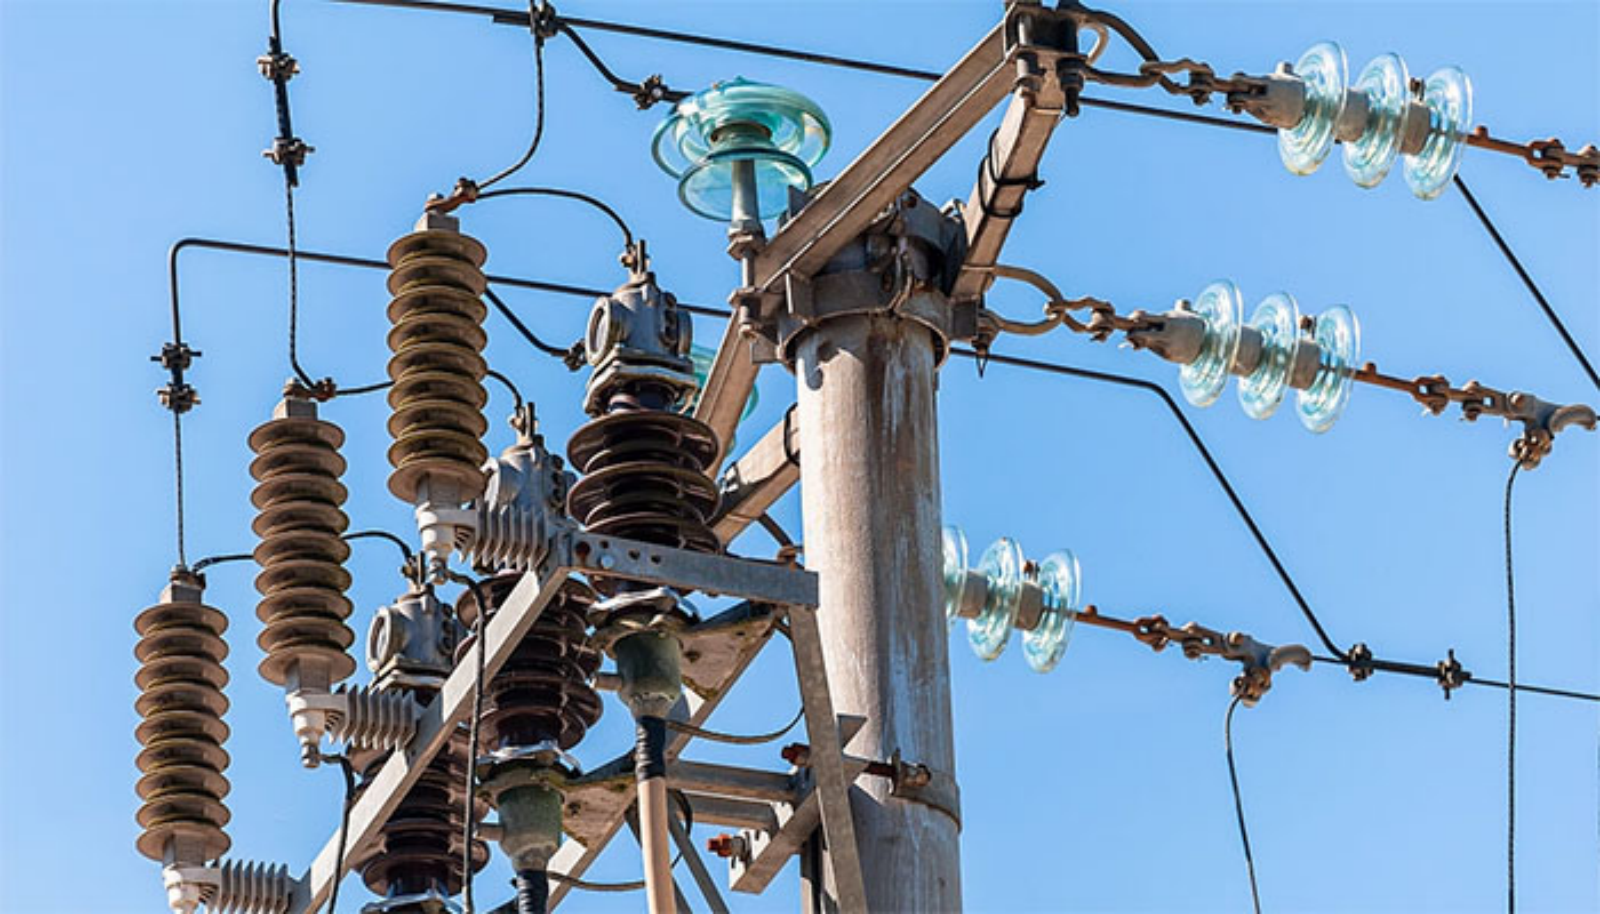
3. Pin Insulator Installation
· Mount the insulator pin to the pole cross-arm
· Screw the glass insulator onto the pin until it is tight
· Attach the conductor to the insulator using the appropriate tie wire or clamp
· Ensure the conductor is properly secured and there is no excessive tension
4. Post-Installation Testing
After installation is complete, perform the electrical insulation resistance test to verify that the insulators are functioning properly. This test should be conducted in accordance with IEC 60167 standards.
If the test results are below the acceptable threshold, inspect the insulators for damage or improper installation and correct any issues before energizing the line.
Common Installation Mistakes to Avoid
· Over-tightening hardware: This can cause stress cracks in the glass insulator
· Under-tightening hardware: This can lead to loose connections and mechanical failure
· Using damaged insulators: Even small cracks can grow over time and cause catastrophic failure
· Improper alignment: This can cause uneven mechanical stress and reduce insulator performance
· Skipping post-installation testing: This can allow faulty insulators to go undetected
Routine Maintenance & Inspection
Regular maintenance and inspection are essential for identifying potential problems before they cause failures. A well-designed maintenance program can extend the lifespan of glass insulators and reduce the risk of power outages.
Inspection Frequency
The frequency of inspections depends on the operating environment:
· Clean, rural areas: Every 3-5 years
· Industrial or urban areas: Every 1-2 years
· Coastal or heavily polluted areas: Every 6-12 months
· Areas with frequent severe weather: After every major storm
Visual Inspection Checklist
During each inspection, check for the following:
· Cracks or chips in the glass: Even small cracks can grow over time
· Broken or missing insulator units: Replace immediately
· Loose or damaged hardware: Tighten or replace as needed
· Contamination buildup: Check for dirt, dust, salt, or other deposits on the insulator surface
· Flashover marks: These indicate previous electrical breakdown
· Bird nests or other debris: Remove to prevent flashover
Cleaning Procedures
While glass insulators are naturally self-cleaning, heavy contamination may require manual cleaning. The most common cleaning methods are:
· High-pressure water washing: Effective for most types of contamination
· Dry ice blasting: Used for sensitive areas where water is not available
· Manual cleaning: For small areas or hard-to-reach locations
Always follow safety procedures when cleaning energized insulators, and use only trained personnel.
Electrical Testing
In addition to visual inspections, periodic electrical testing should be performed to assess insulator performance. The most important test is the electrical insulation resistance test, which measures the insulator's ability to resist leakage current.
Other tests that may be performed include:
· Dielectric strength test: Measures the maximum voltage the insulator can withstand
· Flashover test: Determines the voltage at which flashover occurs
· Polarization index test: Assesses the condition of the insulator surface
Common Glass Insulator Problems & Troubleshooting
Even with proper installation and maintenance, glass insulators can develop problems over time. The following are the most common issues and how to troubleshoot them:
1. Low Insulation Resistance
Symptoms: High leakage current, reduced electrical performanceCauses: Contamination buildup, surface moisture, cracked glassTroubleshooting:
· Clean the insulator surface
· Perform the electrical insulation resistance test again
· If resistance remains low, inspect for cracks and replace if necessary
2. Flashover
Symptoms: Visible arcing, power outage, burn marks on the insulatorCauses: Heavy contamination, excessive voltage, mechanical damageTroubleshooting:
· De-energize the line immediately
· Inspect the insulator for damage
· Clean or replace the insulator as needed
· Check for other damaged components in the system
3. Mechanical Failure
Symptoms: Broken insulator, fallen conductor, tower damageCauses: Excessive mechanical load, wind damage, ice load, manufacturing defectTroubleshooting:
· De-energize the line immediately
· Remove the broken insulator and any debris
· Replace with a new insulator of the same specifications
· Inspect adjacent insulators for damage
4. Hardware Failure
Symptoms: Loose insulator, sagging conductor, unusual noiseCauses: Corrosion, fatigue, improper installationTroubleshooting:
· Tighten loose hardware to the specified torque
· Replace corroded or damaged hardware
· Inspect the insulator for any damage caused by the loose hardware
When to Contact Professional Insulators Company
While many maintenance tasks can be performed by in-house personnel, some situations require the expertise of professional insulators company or industrial insulation group.
Contact a professional if:
· You discover multiple damaged insulators
· You experience repeated flashovers or insulation failures
· You need to perform work on high-voltage or UHV lines
· You require specialized testing or analysis
· You need to design a custom insulator solution
· You are planning a major grid upgrade or expansion
When searching for "insulators near me" or "electric suppliers near me", look for companies with:
· Experience working with glass insulators
· Certification to international standards
· Trained and certified technicians
· A proven track record of quality work
· Local service centers for fast response
While the cheapest energy supplier or insulators company may seem attractive, it is important to prioritize quality and expertise. Poor workmanship can lead to costly failures and safety hazards down the line.
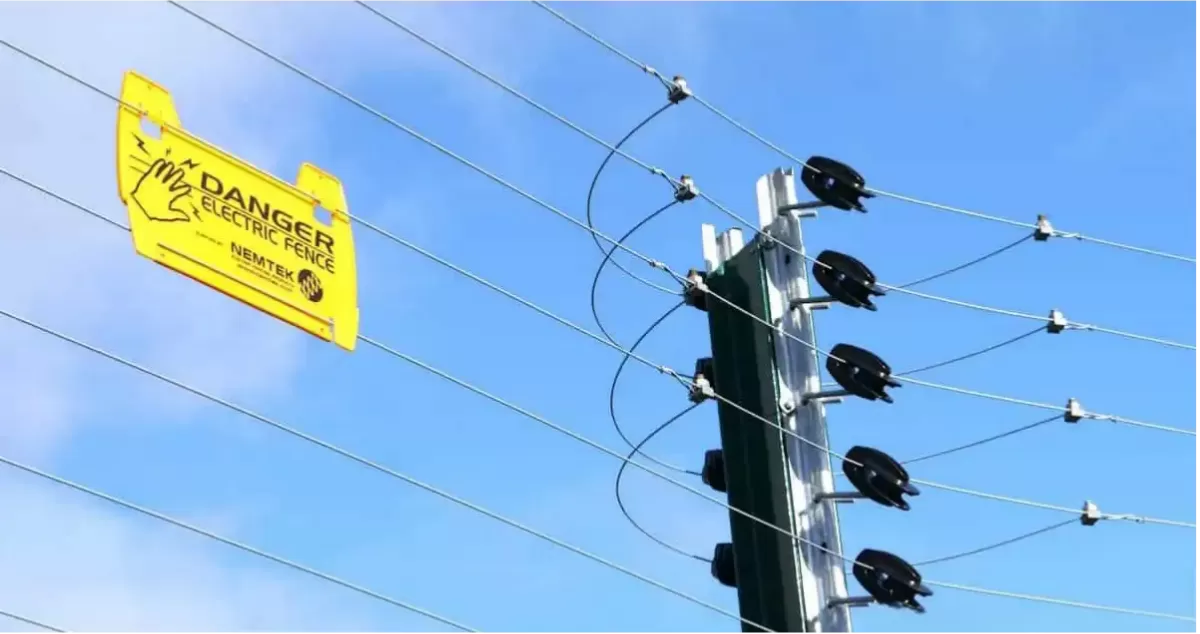
Safety Considerations
Working with electrical insulators can be dangerous, and safety should always be the top priority. Follow these safety guidelines at all times:
· Always de-energize the line before working on insulators
· Use appropriate personal protective equipment (PPE), including safety glasses, gloves, and hard hats
· Use fall protection when working at heights
· Follow lockout/tagout procedures to prevent accidental energization
· Only allow trained and certified personnel to perform electrical work
· Never work alone on high-voltage equipment
Conclusion
Proper installation and maintenance are essential for maximizing the performance and lifespan of glass insulators. By following the guidelines outlined in this article, energy suppliers and power companies can reduce the risk of insulator failures, improve grid reliability, and ensure the safety of their workers and the public.
The electrical insulation resistance test remains the most important tool for assessing insulator performance, and it should be performed regularly throughout the insulator's lifecycle. When problems arise, prompt troubleshooting and repair can prevent small issues from becoming major failures.
For complex installations, maintenance, or troubleshooting, always contact a professional insulators company with the expertise and experience to get the job done right. By investing in proper installation and maintenance, you can ensure that your glass insulators provide reliable service for decades to come.
FAQ
1. How long does it take to install a glass insulator string?
A standard 110kV insulator string (7-8 units) can be installed in 1-2 hours by a trained crew. Higher voltage strings take longer due to their larger size and weight.
2. Can I replace a single broken insulator in a string?
Yes, you can replace a single broken unit without replacing the entire string. However, it is important to inspect adjacent units for damage.
3. What is the acceptable insulation resistance value for glass insulators?
For new glass insulators, the insulation resistance should be at least 10,000 MΩ. For in-service insulators, values below 1,000 MΩ indicate potential problems.
4. Can I clean energized glass insulators?
Yes, but only by trained personnel using specialized equipment and following strict safety procedures. Live-line cleaning is typically performed using hot sticks or robotic systems.
5. How much does it cost to replace a glass insulator?
The cost varies depending on the type and voltage rating, but a standard 70kN suspension glass insulator typically costs between $20 and $50. Installation costs are additional.